
Teacups to Tables STEP TWO
STEP TWO involved, first sanding the table. I have to admit I should have worn a mask, although I was outdoors and did not deliberately breathe the stain that was most likely over 50 years old. It smelled of my grandma’s attic.
Then I water cleaned, wiped down and dried off the table. I then spray painted the table white. I was glad I had my roller handy as it really helped with the areas that wanted to drip.
Once the paint was dry I added blue trim. Now the teacup had a purple accent, so faint that if you blurred your eyes it looked blue. I wanted to highlight the blue so I trimmed it out with a dark and lighter blue. Make no mistake, there are few clean lines. I know when I am done I will get out my fine paint brush and touch up all the areas that I over painted in white. Here is the table now painted and trimmed. Ready for the next step?

Painted white and trimmed in blue. I like to paint on my ironing board. It is a good height and there are lots of hang overs for this table, so I can walk around the project, reach under and over without having to move the table. I even have the teacup under that stand to remind me of what first got me thinking of this table.
Teacups to Tables STEP THREE


I also made sure to transfer my first layer of color on the lower shelf too. Starting with the lightest colors always help “fix” mistakes along the way. Also keep your “inspiration” piece safe. I know that if that ironing board gets knocked over I can clean up paints but would be sad to break this teacup. So I kept it on the floor close to the project, or a shelf very close by.


Share this:

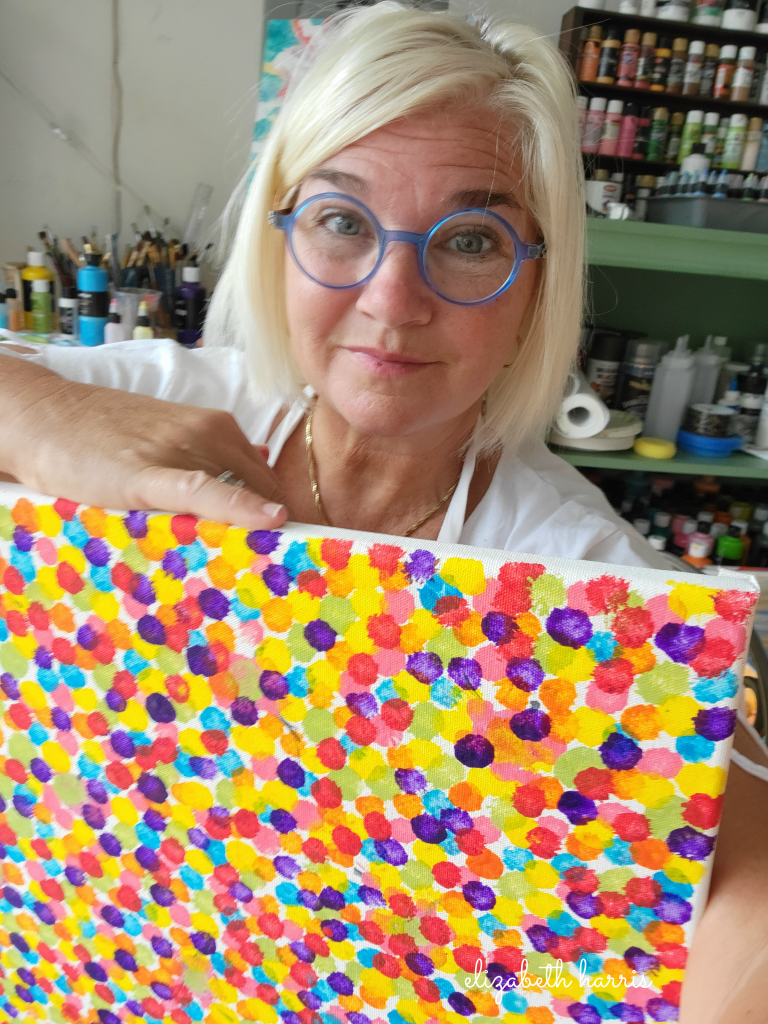
Interior Designer, Consultant, Artist. Which is it they ask? All of the above. God has blessed me in ways that words cannot describe. Doing what I love and making a career out of it all. Starting with a beautiful designer showroom. Decorating homes and specializing in kid's spaces. Magazine covers and spreads, then show homes. Adding in business consulting. Working alongside my clients to develop a strategic plan to design and market their product or service in the correct markets. Then one day, after years of painting for my clients, a few gallies, my hobby business I decided in the second half of my life to bring Elizabeth Harris Art Gallery to life. I took my paintings to the streets and flipped my website into my "Art You Love" business. Do what you love and love what you do. Adding Elizabeth Harris Art Gallery and creating artful pieces for your home, office, business. An empty wall invites art you love by Elizabeth Harris Art Gallery. Your Dreams & Passions, My Experience & Help. Let's work together and build something beautiful in your home business, or on your walls.


Normally I’m against killing but this aritlce slaughtered my ignorance.
This was so helpful and easy! Do you have any artclies on rehab?
Florence, articles on rehad…I could write one.